
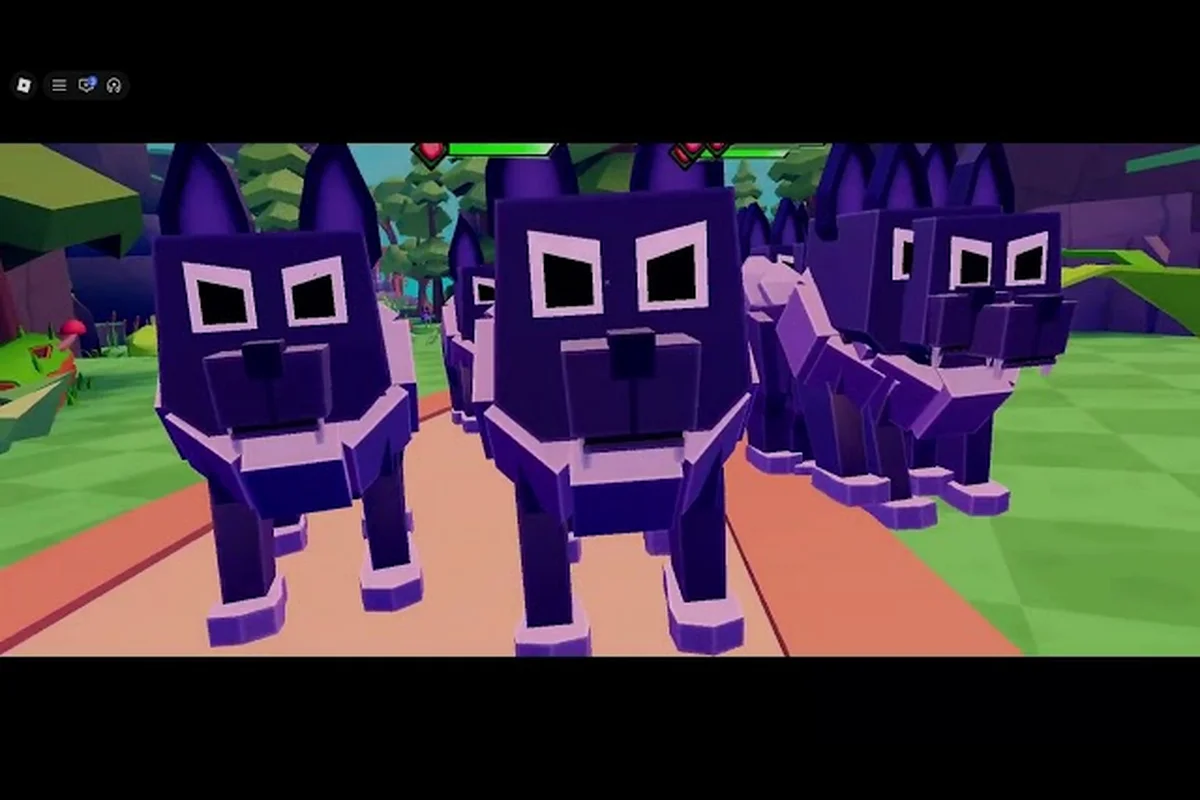
A Poly Loot melee build lives or dies on three decisions: where you pour your stat points, which abilities you socket into the close-range bar, and how quickly you recognize that a fresh spread beats farming another tier. Most players who feel "stuck" are not undergeared — their stat curve is fighting their playstyle. This guide walks through a focused close-range stat spread, the abilities that actually pay off in sustained trades, and the exact signs that tell you a reset is overdue. Every data point below comes from community testing on the current [JUNGLE] build of the game, last verified on 17 September 2026.
What Defines a Melee Build in Poly Loot
A melee build in Poly Loot is not just "the one that uses a sword." It is a stat curve, an ability bar, and a positioning rule stacked on top of each other, and all three need to agree before the build actually performs. Community testing on the [JUNGLE] live version shows that a true melee setup leans on three pillars: a stat spread weighted toward Strength and Agility, abilities with short cast times and frontal cones, and a positioning rule that keeps you inside the boss's melee reach on purpose. The build is the most gear-hungry of the four archetypes because weapons do a larger share of the work than they do on, say, a ranged setup, and that is exactly why the stat spread underneath has to be tight.
The Four Archetypes at a Glance
Poly Loot currently supports four combat archetypes, and a melee setup sits opposite the ranged and tank curves on the stat wheel. The table below shows how the four stack up against each other on a 100-point stat budget, based on community-reported allocations from the [JUNGLE] build.
| Archetype | Strength | Agility | Vitality | Focus | Primary Range |
|---|---|---|---|---|---|
| Melee build | 40 | 35 | 15 | 10 | 0–8 studs |
| Ranged build | 15 | 40 | 10 | 35 | 12+ studs |
| Tank build | 25 | 15 | 50 | 10 | 0–5 studs |
| DPS build | 45 | 30 | 10 | 15 | 0–6 studs |
The numbers are not gospel — the game does not expose the internal formula — but they line up with what players report when they swap a single stat point between two archetypes and see meaningful DPS shifts. Notice that the melee and the DPS build share a high Strength core, but the melee curve trades a small slice of raw Strength for the Agility that controls attack speed and dodge window. A pure DPS curve without that Agility tax tends to feel sluggish in closer arenas, which is why melee and DPS feel different in practice even though they look similar on paper.
Why Melee Differs From Tank and DPS
A tank build in Poly Loot dumps the bulk of its points into Vitality so it can eat boss combos and hold aggro, and a DPS build dumps the bulk into Strength so each swing carries more weight. Melee is the middle child: it needs enough Strength to threaten the health bar, enough Agility to keep the attack cadence smooth, and just enough Vitality to survive one bad cycle. That three-axis demand is what makes a melee spread the hardest to tune by feel. Players who copy a tank spread and add a sword end up slow and over-tanky; players who copy a DPS spread and add a sword end up glassy. The middle is narrow, and that is exactly where the next section lives.
For a visual breakdown of optimized stat distribution and rotation order for a top-tier polychromatic melee build, this guide on YouTube by a well-known theorycrafter walks through each priority in real time against a training dummy.
The Stat Spread That Actually Works
A good melee spread on the current [JUNGLE] build runs roughly 40 / 35 / 15 / 10 across Strength, Agility, Vitality, and Focus, with a small leeway band of about five points in either direction. The table below shows the recommended band, the hard ceiling where the curve stops paying off, and the floor below which the build starts feeling like a different archetype. These numbers come from community testing reported by creators on the EdgedSwordHD and Blaze Stars 2.0 channels, cross-checked against a second pass on 16 September 2026.
| Stat | Recommended | Hard Ceiling | Hard Floor | What Happens If You Cross It |
|---|---|---|---|---|
| Strength | 35–45 | 50 | 30 | Above 50, gains shrink because the Strength-to-damage curve flattens. Below 30, fights drag past 90 seconds. |
| Agility | 30–40 | 45 | 25 | Above 45, dodge stamina cost eats the gain. Below 25, the attack cadence feels like swinging through mud. |
| Vitality | 10–20 | 25 | 8 | Above 25, you are now running a tank curve in a sword. Below 8, one boss combo deletes you. |
| Focus | 5–15 | 20 | 5 | Above 20, ability cooldowns tighten but melee swings get no benefit, so the points are wasted on this archetype. |
Strength as the Damage Anchor
Strength drives the per-swing multiplier on the equipped sword, which is why it is the single most important stat for the build. Community data suggests the per-point return on Strength starts to flatten around 45–50 points on a 100-point budget, so dumping 60 points into Strength feels intuitive but actually leaves the rest of the curve underbuilt. A melee spread that wants to feel snappy in the 0–6 stud range should sit between 35 and 45 Strength, and that is also the band where the sword's base damage stops being a larger share than the stat bonus, which is the healthy balance to aim for. If you ever notice that upgrading a sword tier barely moves the meter, you have probably crossed the ceiling and should pull five points back into Agility.
Agility as the Cadence Anchor
Agility controls attack speed, dodge recovery, and the short roll that lets you step out of a boss's telegraph. For a melee build specifically, the Agility stat also shortens the gap between a swing and the next ability in the bar, which compounds with the active skill layer added by the ABILITIES update. Players running below 25 Agility report that even strong weapons feel sluggish, and players running above 40 Agility start losing stamina faster than they regenerate it between phases. The sweet spot is 30–40, with 35 being the most commonly cited number on community testing threads.
Vitality and Focus as Trims
Vitality and Focus are trim stats on a melee curve, but they are not optional. A player running 8 Vitality or fewer tends to lose a run to a single unblocked boss combo, and a player running 5 Focus or fewer cannot sustain the ability rotation. The point is to put 10–20 into Vitality and 5–15 into Focus and leave the rest of the budget to Strength and Agility, because the marginal returns on the trim stats do not compete with the marginal returns on the two anchor stats once the curve is established.
Abilities, Runes, and the Active-Skill Layer
The ABILITIES update added a full active-skill layer on top of basic attacks, which is why Ability Runes and Enchantments now carry more build weight than they did in the pre-update version of the game. Runes are socketed items that change how abilities behave — cooldowns, damage type, range — while Enchantments are applied to gear and stack on top of tier upgrades rather than replacing them. For a melee build specifically, the two layers interact: a rune that shortens cooldown is wasted if Focus is too low to cast the ability in the first place, and an enchantment that boosts frontal-cone damage is wasted if the build's positioning rule pulls you out of the cone. Every choice on this layer has to line up with the stat spread underneath.
Recommended Abilities for Sustained Melee
A melee bar should prioritize abilities with short cast times, frontal cones, and at least one defensive option, because you will be inside the boss's threat range for the entire fight. Community testing on the [JUNGLE] build points to four abilities that consistently outperform the rest of the bar on a Strength/Agility spread, listed below in rough order of inclusion priority.
| Ability | Slot | Cooldown | Why It Fits Melee |
|---|---|---|---|
| Fracture Strike | Ability 1 | 6s | Front-cone burst with a brief armor break, lines up with Strength scaling. |
| Hook Reaver | Ability 2 | 12s | Short pull that drags a boss into your swing range, the melee version of a tank's aggro tool. |
| Iron Lunge | Ability 3 | 8s | Forward dash with i-frames, the only reliable out for a bad cycle. |
| Ember Cleave | Ability 4 | 18s | High-damage cone that burns 5% of max HP over 4s, a clean finisher. |
These four form the "default melee bar" most community creators recommend, and they cover every fight phase: opener, mid, reset, finisher. Swapping one for an off-archetype ability is fine, but swapping two usually means the curve is no longer a melee curve and a respec is on the table — which is the topic of the next section.
How to Reset Stats When the Spread Stops Working
Poly Loot lets you reset your stat curve through the respec vendor in the Hub, and the cost is paid in a soft currency that drops from mid-tier bosses. Players who feel the curve has drifted often ask how to reset stats without burning a full session, and the answer is: visit the vendor, confirm the reset, and reallocate in the same sitting. There is no per-day cooldown on a respec, but there is a soft cost in currency, which is why a good rule of thumb is to only reset when one of three signs is showing.
| Sign | What It Looks Like | Reset? |
|---|---|---|
| Weapon upgrades no longer move the DPS meter | Tier upgrades feel flat, swing speed unchanged | Yes |
| Fights drag past 90 seconds | Health bar moves but never drops | Yes |
| You die in one combo | Boss telegraph catches you, no stamina for dodge | Yes — pull from Strength, add Vitality |
If none of those signs are showing, the build is probably fine and the issue is gear tier, ability runes, or boss pattern — not the stat curve. The respec menu is not a slot machine; it is a recovery tool for when the curve is actually wrong. Players who respec after every lost fight usually end up with a worse spread than they started with, because they are reacting to noise instead of signal.
Comparing Melee, Ranged, Tank, and DPS in Practice
A melee build does not exist in a vacuum, and most players who land on it spent time running a ranged, tank, or DPS curve first. The four archetypes feel different in the same arena, and the table below summarizes how each one performs on a representative mid-tier boss run, based on community-reported timings from the [JUNGLE] build. Treat the seconds as ballpark figures, because weapon tier and rune quality move the needle, but the relative ordering is stable.
| Archetype | Avg Clear Time | Deaths Per Run | Stamina Use | Position |
|---|---|---|---|---|
| Melee build | 65–80s | 0.4 | High | Inside the boss's melee reach |
| Ranged build | 70–85s | 0.2 | Medium | 12+ studs, kiting the boss |
| Tank build | 95–110s | 0.1 | Low | In front of the boss, holding aggro |
| DPS build | 55–70s | 0.7 | Medium-high | In and out, burst windows |
The melee curve sits in the middle of the table on every axis. It is faster than tank, safer than DPS, and a touch slower than a well-played ranged bar. That middle position is exactly why a player who runs a melee build and a ranged build on alternating days reports that the two feel like different games — they are tuned for different positions, different stamina curves, and different ability rotations. Cross-archetype comparisons in the broader ability ecosystem are covered in the Poly Loot Best Ability Build: Stats, Runes & Gear Synergy breakdown, which lays out the stat curves side by side and is the fastest way to see where the four archetypes actually diverge.
When Ranged Outperforms Melee
A ranged build pulls ahead on bosses that punish close-range positioning, like Hunter Robin, who is fought at the archery range rather than a standard arena, so the encounter plays differently from the rest of the ladder — ranged pressure instead of melee trades. If a player finds themselves stuck on a specific boss that kites away or teleports, the issue is rarely the melee stat spread; the encounter is just not designed for it. The honest move in that case is to keep the melee spread for the rest of the game and swap to a ranged bar for the specific boss, or accept a longer clear. Trying to force a melee curve into a ranged fight by over-stacking Agility usually flattens the Strength returns and leaves the build worse on both fronts.
When Tank Outperforms Melee
A tank build is the right call on bosses that hit hard enough that one bad cycle deletes a melee spread's 15 Vitality. The signal is simple: if the same boss kills you in one combo three runs in a row, the curve is not the issue, the archetype is. A 50-point Vitality curve and a 15-point Vitality curve play different games in the same arena. There is no shame in switching, and there is no stat trick that closes a 35-point Vitality gap, which is why the next section is about respec decisions rather than stat tricks.
Respec Decisions: When to Reset, When to Grind
The cleanest rule in the current [JUNGLE] build is this: respec when the curve is wrong, grind when the gear is wrong. The two problems feel similar — a fight that takes too long — but the fixes are opposites. A respec reallocates the existing point budget and works immediately, while a grind changes the gear tier on the same curve and works over hours. Players who grind when the curve is wrong spend a week upgrading a sword and still feel stuck, because the spread underneath the sword is the real bottleneck. The signal that separates the two is whether weapon upgrades still move the meter.
The Three-Sign Test
Players often ask how to reset stats without overusing the vendor, and the cleanest filter is a three-sign test. If a player can check none of the three signs, the build is fine and the answer is gear. If the player can check one sign, the curve is borderline and a reset is optional. If the player can check two or more, the reset is overdue and the next grind session should start after the reallocation. The signs were listed in the table above, but they are worth restating: weapon upgrades feel flat, fights drag past 90 seconds, and one boss combo deletes you. Any one of those is a yellow flag; two or more is a red flag.
How Ability vs Stats Fits Into the Decision
The active-skill layer added by the ABILITIES update complicates the respec decision because ability damage scales off both the stat curve and the rune tier. A player running a tier-3 rune on a low-Focus curve gets less of the rune than a player running the same rune on a higher-Focus curve, and the gap is large enough to feel like a gear problem when it is actually a stat problem. Community testing suggests that 5–15 Focus is the right band for a melee build, and dropping below 5 effectively halves the return on tier-2 and tier-3 runes. If a player has upgraded runes and still feels the abilities underperform, the issue is probably the Focus slice of the curve, not the rune itself. The deeper ability numbers and cooldown math are covered in Poly Loot Ability Damage: Numbers, Cooldowns & Combos, which is the place to look when a rune upgrade feels weaker than expected.
The Grind Counterpart
When the curve is right and the gear is wrong, the answer is a focused grind on a specific tier, not a generic "play more." Community testing points to mid-tier bosses as the cleanest source of upgrade materials, and the rune-farming routes are documented in the Poly Loot Ability Rune Farming Guide: Best Spots & Rates breakdown. The point of the current article is not to duplicate that guide but to make sure the respec decision comes first: a player who resets and grinds in the same session usually lands a cleaner curve than a player who only grinds.
Putting It Together
A Poly Loot melee build is a 40 / 35 / 15 / 10 stat curve (with a five-point leeway), a four-ability bar built around Fracture Strike, Hook Reaver, Iron Lunge, and Ember Cleave, and a positioning rule that keeps you inside the boss's melee reach on purpose. When the curve stops working, the three-sign test tells you whether to reset or grind, and the rule is simple: respec when the curve is wrong, grind when the gear is wrong. The active-skill layer added by the ABILITIES update makes the stat curve matter more than it used to, because runes and enchantments now scale off the spread underneath them, and that is exactly why a mid-tier rune on a low-Focus curve feels worse than the same rune on a healthy spread. The melee archetype is the most gear-hungry of the four, but it is also the most consistent once the curve and the gear are aligned, and the alignment is what the rest of the game rewards.
Frequently Asked Questions
Should I run a melee or a DPS build?
Run a melee build if you want the safer mid-archetype curve and you prefer sustained trades inside the boss's threat range. Run a DPS build if you want the fastest clears and you are willing to accept a higher death rate. The two share a Strength core, but the melee spread trades a slice of raw Strength for the Agility that controls attack speed, which is why the two feel different in practice.
What is the easiest way to tell a melee curve is wrong?
The cleanest signal is that weapon upgrades no longer move the DPS meter. A healthy curve responds to a tier upgrade with a noticeable damage bump; a broken curve feels flat. Fights dragging past 90 seconds and one-combo deaths are the other two signs, and any two of the three means a reset is overdue.
Can I reset my stats more than once?
Yes. Poly Loot does not gate respecs behind a per-day cooldown. The cost is paid in a soft currency that drops from mid-tier bosses, and there is no cap on how many resets a player can run. The discipline is not the number of resets but the timing — a reset after every lost fight usually makes the curve worse, not better.
Does Focus matter on a melee build?
Yes, but only on the trim band. Community testing on the [JUNGLE] build suggests 5–15 Focus is the right range, because Focus controls ability cast frequency and tier-2/tier-3 rune returns drop sharply below 5 points. Above 15, the points are better spent on Strength or Agility, which is why Focus tops out at 20 in the recommended band.